Uncoated Fine Art Papers and Ink- conclusions and results
03.30.2023
This is probably the final post regarding inkjet printing on uncoated papers, the initial posts are here-
why uncoated papers for print nerds
and here-
paper surfaces tests
My priorities for a paper choice were described in the 2nd post. After making several prints, and all the testing, and I narrowed it down to Rives BFK, Somerset Velvet White, and Stonehenge Aqua. They each took the ink well, and resulting prints were very nice. Stonehenge is more textured than the other two. Somerset Velvet’s surface has a very slight woven texture, far from intrusive, but for my purposes the smoother surface of Rives BFK is ideal so I’ve chosen if for work going forward. 22 x 30”, a standard sheet size, is a nice size for me, when leaving a generous white margin I like the resulting image size. The custom ink is a seven density set, all carbon. The printer an aging 9880 that just goes and goes.
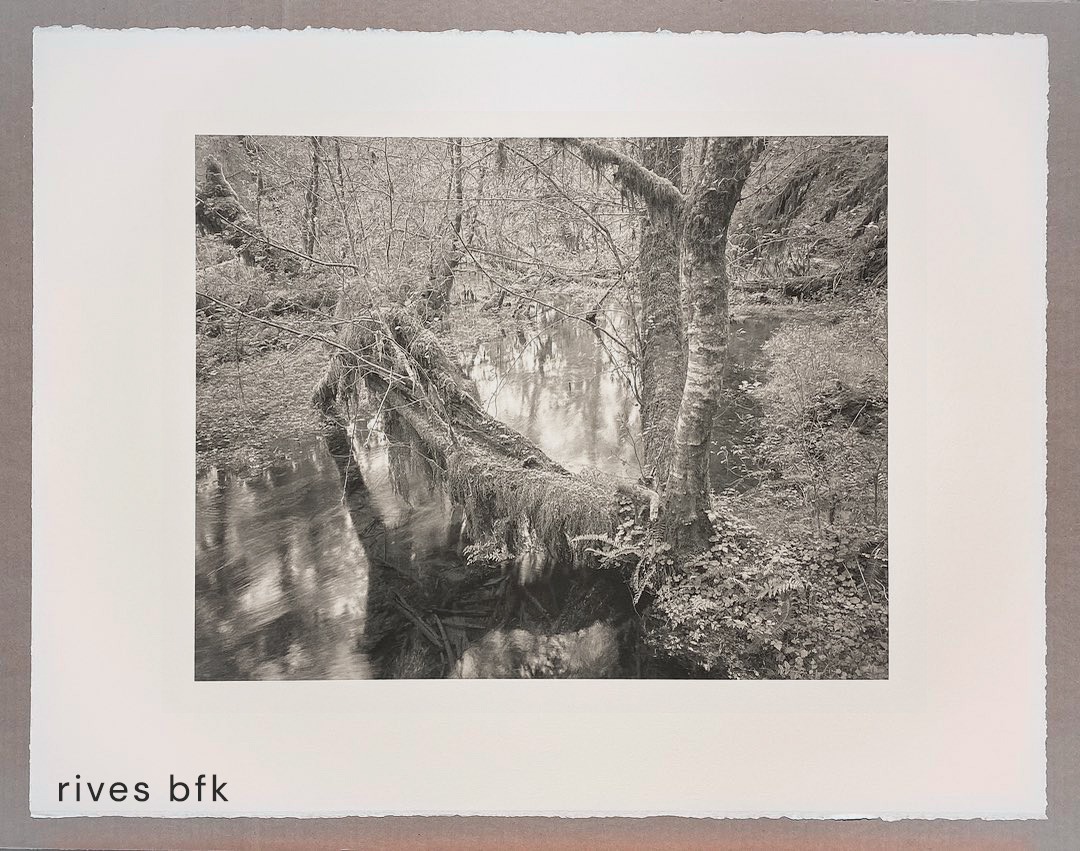
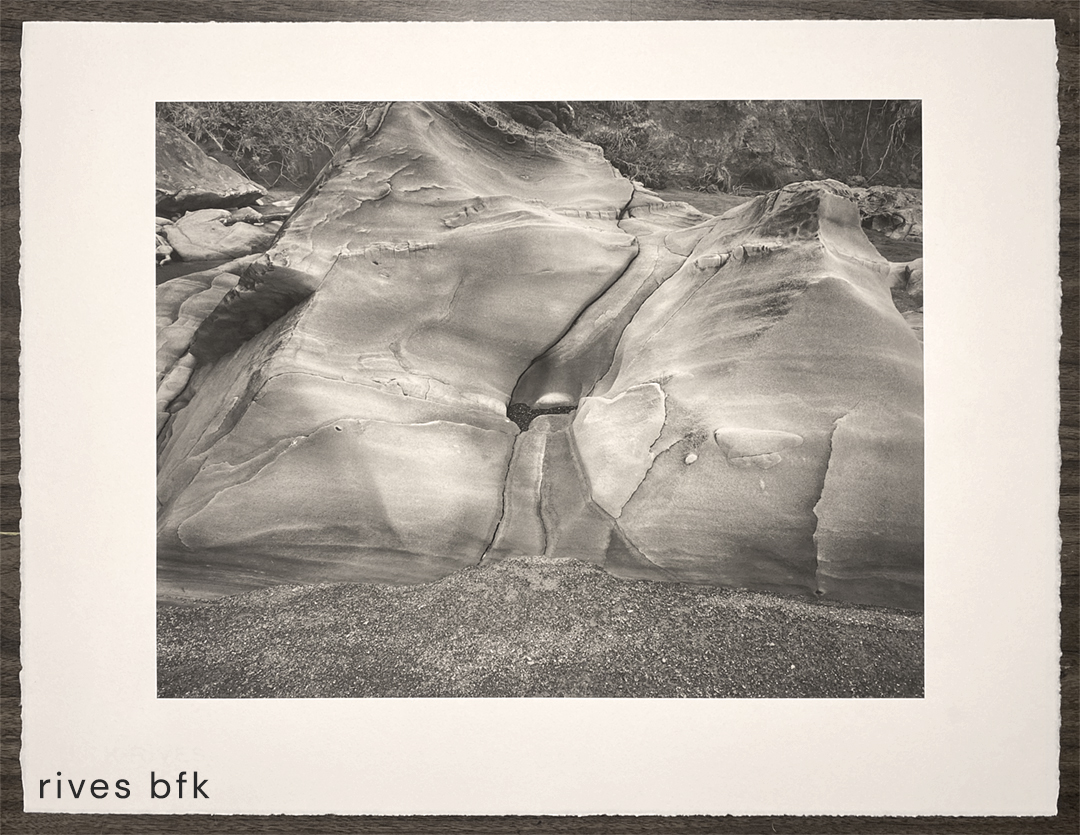
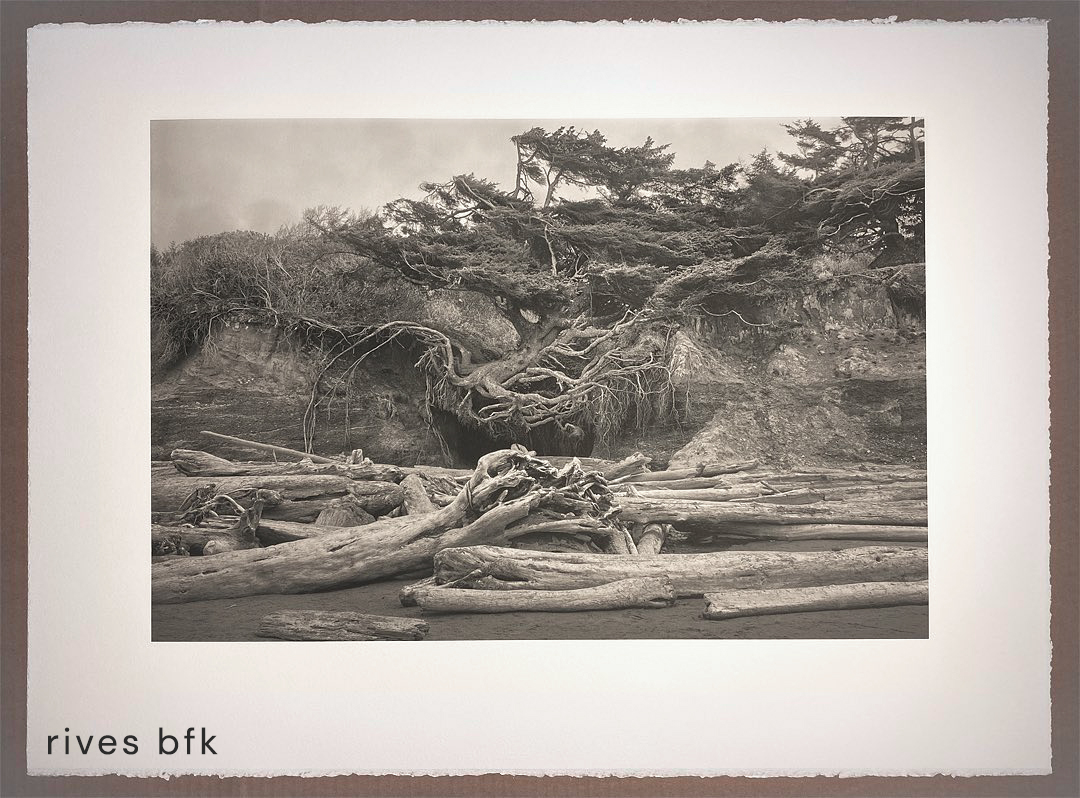
I’ve shown some bad copy shots of prints throughout, all of which have already been shone on related IG and FB posts. I don’t presume they inform much, you can’t see the texture, and my iphone copy work is far from properly color balanced, but a few picks can’t hurt.

A few notes for anyone getting into this ink/ uncoated art papers work. These papers are soft and fibrous, all but the heaviest sized, like Arches WC, will throw up paper lint during printing. Eventually a nice black gunk made of fibers and ink will build up on the head, requiring wipe cleaning more often than normal inkjet papers. Shadows are a bit flat right out of the printer, they separate out and get richer after drying, it’s subtle. I got consistently slightly higher dmax on all papers with a slower print speed setting. This is easily set in LF Epsons, I don’t know about desktop models.
Obviously this has been about B&W. With Epson ABW, all I can suggest is testing all the media settings, finding one that gives the best density before mottle and bleed on the chosen paper. I have no Canon info about about making this work. Piezography users will probably be on QTR. On their forum I’ve seen interest in these papers, and Japanese papers, with suggested profiles/ curves.
 Most can stop reading here. The following is about my process for all this using the Studioprint RIP. I’ve been using it for many years, I doubt hardly anyone else in fine art printing, particularly Piezography, other than me is still using it. So this info is useful only peripherally, if at all. The various drivers for Epsons use 2880 x 1440, 1440 x 720, and down from there. QTR and Studioprint also make 1440 x 1440 available, even 2880 x 2880 in Studioprint. Studioprint allows getting under the hood and selecting dot size, as well as the density of each dot size, for each ink. This is a can of worms I don’t recommend, but I got a lot of it under my belt when I was younger and more obsessive. The common 2880 setting (2880 x 1440) allows only the smallest dot size, which works great for most printing. But 1440 x 1440 gives access to all 3 dot sizes. Close dot spacing and high ink densities need to be addressed on these absorbent papers to deal with mottle and/or bleed. So with the small dot size, 1440 x 1440 spaces them farther apart in one direction, and symmetrically spaced, for what it’s worth. However each ink’s max density can’t reach the 2880 x 1440 setting due to the wider spacing. But since we now have all dot sizes available some medium dots can be added to get us farther down the scale with each ink. The large dot size isn’t very useful for the 6 gray inks in this case, the small + medium is more than sufficient, but they still have to be limited. After a lot of testing I settled on a 70% limit for small and medium dots in each of the 6 gray inks, on my selected papers. There are trade-offs for more or less individual ink limiting in a multi gray/ black setup but I’d prefer to stay out of the weeds for this post.

The black ink is the exception. I set it for all 3 dot sizes, so it opens to the largest size at max K, easily limited if necessary. I was surprised it worked without bleed. I don’t think Studioprint allows for any under-ink at the max of any of the inks, in the partitioning, I’m guessing total ink is generally only 100% for multi density inks. OK, we have a toe in the weeds…
So that’s the setup, for this 7 density B&W carbon ink set, on these uncoated papers (including the papers I’ve not gone forward with). 1440 x 1440, all LK inks set at 70% small and 70% medium dots. The printer is set to a 3 second pause between each pass, longer is marginally better, but excruciatingly slow.
The results are satisfying, with some very acceptable tradeoffs, mostly a softer presentation than coated inkjet papers. 100% carbon inks, on 100% cotton acid free papers with no optical brighteners should result in very long print life, and far less delicate objects. I can actually brush a finished print (don’t), even have them in working stacks around the space without interleave. Several were handled at a recent workshop without damage.
A lot of this applies to any uncoated paper, the many beautiful Japanese papers, and a wide world of fine papers with qualities outside my specific interests. Completely unsized papers though, may not work no matter what you do. I hope this is more than a dumping ground for these efforts, and this is of interest to somebody. There may be some clues in all this to someone observant, working on something related.
I think I’ll start getting a lot more prints done now, the actual point of all this.


Leave a Reply